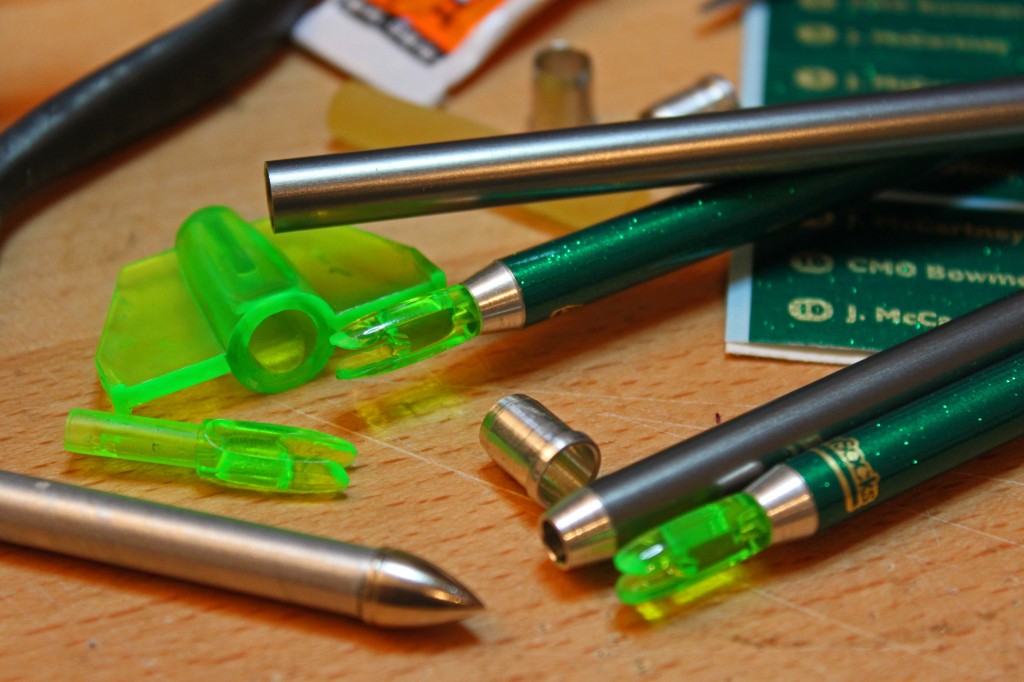
Fitting your ArrowSocks Arrow Wraps
Luckily… its fairly easy. We will get a video up at some point but until then, follow these steps:
1) You need a clean arrow – try to get all the grease, grime and any old glue off of the shaft. Anything left will show through and interfere with the wraps adhesion.
2) Find a softish surface, a mouse mat is ideal. The slight give in the surface acts as a squeegee leaving the wrap smooth and air bubble free.
3) Carefully peel off a wrap, noting which end is which and lay it down sticky side up on the mouse mat. Try to touch as little as possible of the glued side as you can. Note which way around you need to wrap – often our wraps need to be put on in a certain direction due to the design, you don’t want something under the overlap!
4) Line up your arrow up next to the wrap, close but not touching, look directly down from above and make sure the end of the wrap is at the end of the shaft.
5) Gently start to roll the arrow shaft towards the wrap, pushing down gently.
6) Once the start of the wrap become visible on the arrow shaft, pause and run your finger along it to make sure its stuck down well.
7) Continue rolling until the wrap is completely on the shaft, again pause and run your finger down the overlap – finishing the wrap.
What Glue? (For the fletchings… the wraps are self adhesive…)
We’re often asked this – ultimately it depends what you get on with best. We use AAE Fast Set Gel – comes in small tubes. It sets fast, small nozzle to control flow and sets hard. (Sets hard on your fingers as well… it’s essentially Super Glue/Krazy Glue – don’t “Kragglize” yourself!)
Warning:
Wraps are tough, but they aren’t indestructible… glue and solvents can interfere with the pigments used, fast Set Gel will, for instance strip the colour, so be careful what you do with any overflow of glue – avoid simply wiping it off – best to use just enough, not too much! *always read the label, use in a well ventilated area, etc etc*

